This article explains how to use custom fields created for order details.
The Configuration Manager gives you the option of creating and defining custom fields unique to your business. The majority of the custom fields that you create, will be on a tab labeled Custom or Additional Info (SO/PO windows) for the specific windows that custom fields are created for, but with custom fields created for order details (i.e. Sales Order Detail and Purchase Order Detail), the fields are accessed from the Custom Fields button.
Opening Custom Fields in Order Details
- Custom fields for order details can be created for Sales Order Detail or Purchase Order Detail. Open the appropriate window based on the custom field you created in Configuration, either Sales > Sales Order or Purchasing > Purchase Order.
- Create a new order (select Add new order button) or open an existing order.
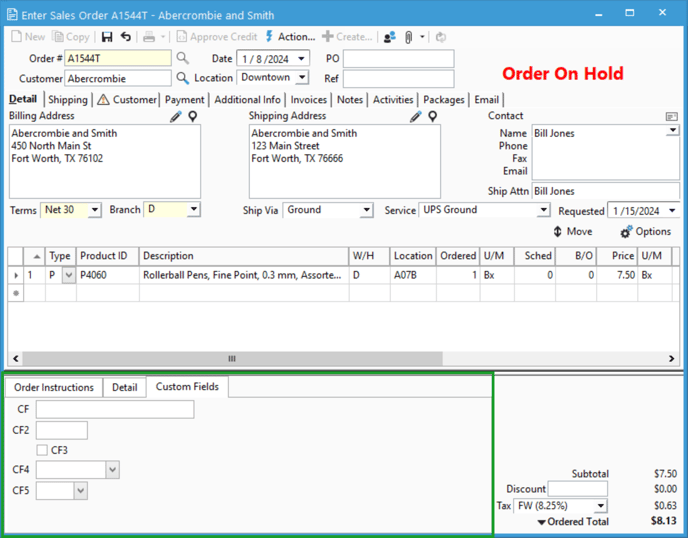
- After opening or adding items to the order, select a product detail line by clicking the solid gray bar to the left (in which an arrowhead will appear, and the line will be highlighted blue to show it is selected) to add information to its order detail custom field.
- Click the Custom Fields tab located in the order footer pane.
- Enter information into the custom field and click the Close button.
- Repeat steps 3-5 for each product detail line that needs information stored in its custom field.
Note: Steps 3 & 4 can also be repeated to view the information in an order detail custom field; and to edit an order detail custom field just click the Edit button and perform steps 3-5. - Click the Save button when you have completed the order.
You can show custom fields directly on the order detail grid by having an Acctivate admin add the custom fields in the Options menu.