Go to EDI > Process EDI. In the EDI Manager window, check all file types that you would like to create or receive then click the Process button.
In order to process your EDI transaction files, you’ll need to purchase the EDI module and configure your trading partners. Once this step is complete, you’ll be able to use the EDI tool to process Customer Purchase Orders (850), Warehouse Orders (940), Warehouse Shipments (945), Customer Advance Ship Notices (856), and Customer Invoices (810).
For a full demo, check out our EDI webinar.
- To open the EDI Tool, go to EDI > Process or use the EDI icon on the Icon Bar.

- The EDI utility will open and run through a verification of each file located in the specific incoming/outgoing folders. You’ll notice colored dots next to teach trading partner name.
- Green dots mean no warnings or errors were received
- Yellow dots mean there are warnings
- Red dots mean there are errors or exceptions
- The user can expand the section with a warning or error by clicking on the + sign next to the transaction or right clicking transaction and choosing Expand/Collapse this item to see what failed during verification.
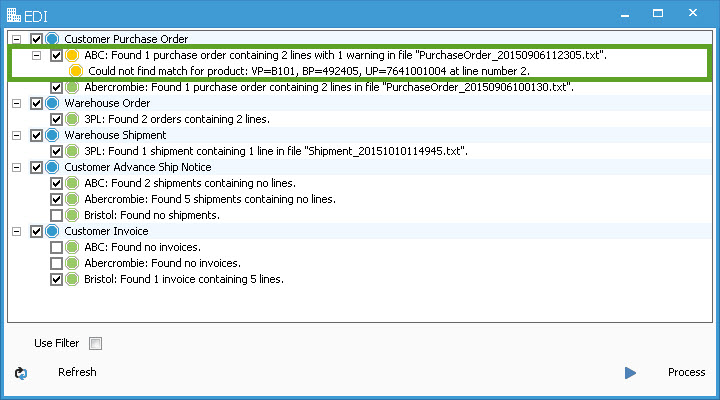
- For the warning above, I found the UPC for the item had an extra character. The user can edit the UPC to match the file and click Refresh to run through the verification again. If you process with the above warning, the order detail line will be created as a N type line.
- If you want to only process a specific trading partner, you can either uncheck the other boxes or right click on the partner name to Process only this item.
- When ready, click Process. You’ll see which section the tool is working through until completion for all selected transactions. The window will then show the user what files or orders were created.
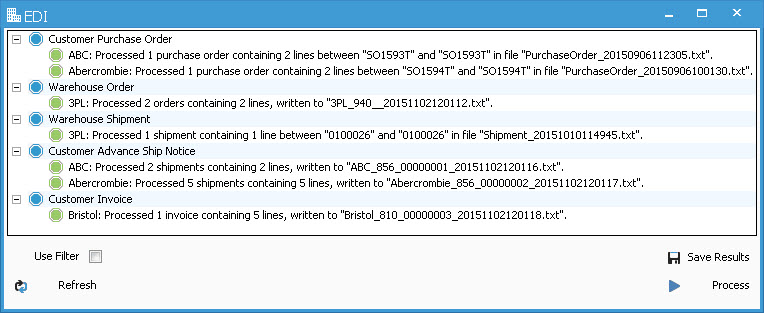
- If you need to save the results, you can either right click in the window, select Copy to Clipboard, and paste it into another program or click Save Results to save as a txt file.
- To verify any new files in the mailbox, click Refresh. Acctivate will run through the verification process again and show what’s ready to process.
Resend or Re-submit Exported Invoice (810) Files
- Select the specific trading partner you wish to resubmit files and check Use Filter or right click on the row and choose Filter this item to open the filter section of the tool. Be sure the trading partner is highlighted before checking the box Use Filter, as seen in the image below.

- The user can send New files, created on a specific date, Re-submit files based on a date or range of either shipments or invoices. If resubmitted files on a range, both the from and to field must be filled in. If resubmitting only one file, enter the Shipment or Invoice # for both the from and to fields.
- Click Process when ready to re-submit
- You’ll see all processed transactions on the next screen like in step 5 above, including the ones re-submitted.
Resend or Re-submit Exported Advance Ship Notice (856) Files
- Open the Shipment using the Package Shipments window.
- Edit the Shipment Status from "Shipped" to "Packaged"
- Revise the Shipment and Save the Shipment.
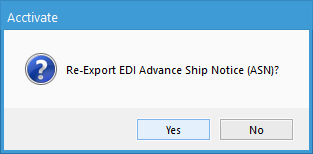
- Select "Yes" to Re-Export the EDI Advance Ship Notice (ASN):
5. Open the Process EDI Window by selecting EDI > Process EDI.
6. Under Customer Advance Ship Notice, check the Trading Partner you need to resubmit the Shipment for. 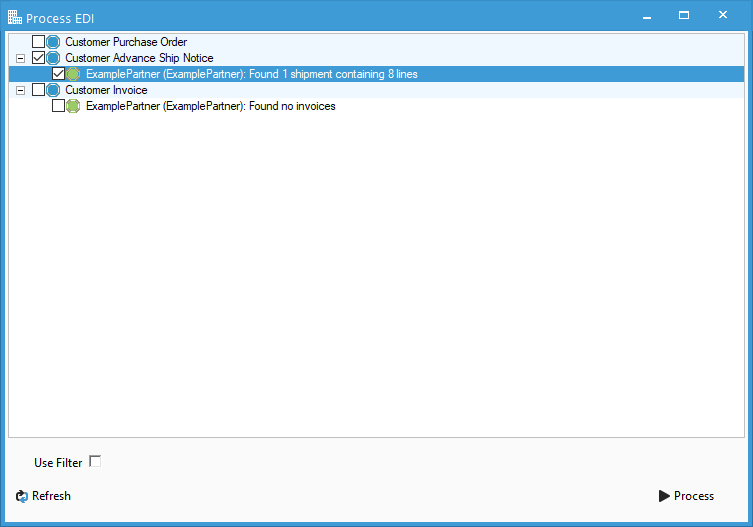
7. Select "Process" to re-submit the Advance Ship Notice.