- Knowledge Base
- Learn
- Customer
-
Getting Help
-
Installation
-
Learn
- Business Activities
- Business Activity Manager
- Business Alerts
- Configuration
- Customer
- Database
- EDI
- General
- Inventory
- Manager Windows
- Mobile
- Picklists (Advanced Picking)
- Product
- Purchasing
- Purchase Order Manager
- QuickBooks & Acctivate Basics
- QuickBooks Desktop Sync
- QuickBooks Online Sync
- Reporting
- Sales
- Sales Order Manager
- Sales Tax
- Server
- Shipping
- Startup
- User Interface
- Webstore
-
Troubleshoot
-
Specs
-
How do I?
Marking customers as Active or Inactive.
In Acctivate, use the checkbox on the Credit tab of the Customer Window. In QuickBooks, use the "Customer is inactive" checkbox while editing a customer.
Customers can be marked as Active or Inactive from within Quickbooks or Acctivate. After marking customers as inactive in either one, the changes will be carried over following a sync. This article will cover how to make customers active/inactive in both Acctivate and Quickbooks.
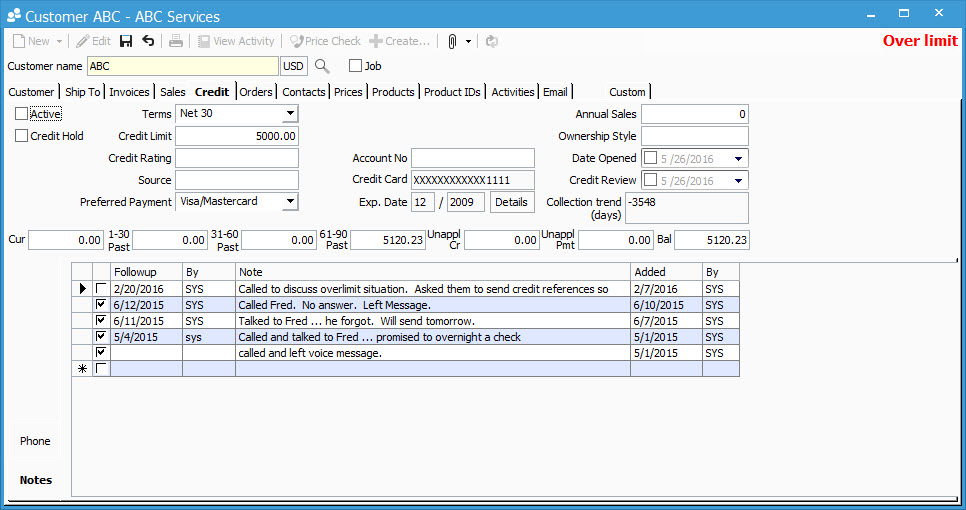
From Inside Acctivate
First, open up the customer record you desire to change to active/inactive. Navigate to the “Credit” tab. Next, click edit and check the “Active” check box if you want that customer to be active and uncheck the box for inactive.
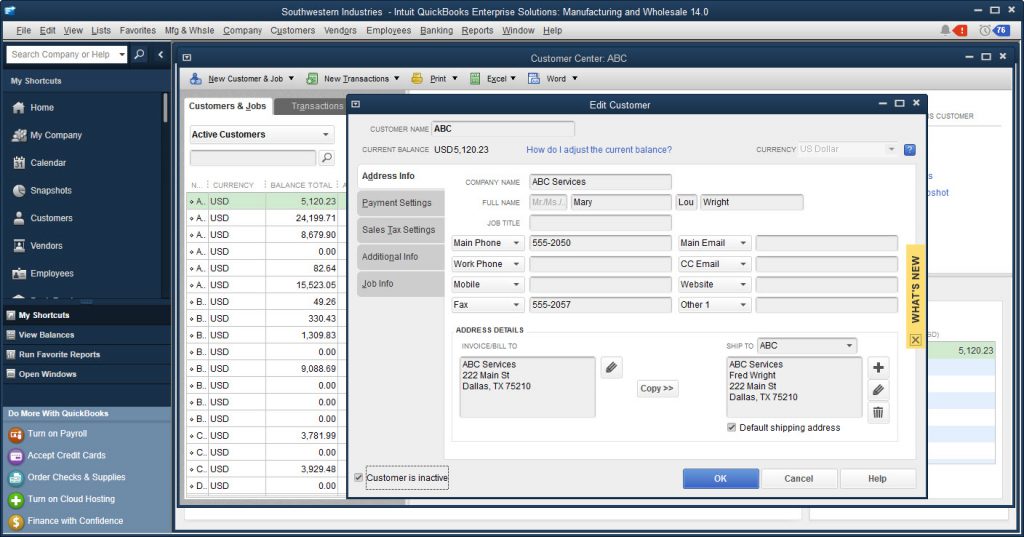
From Inside Quickbooks
Once logged into Quickbooks, click the Customer tab from the top menu bar. Select Customer Center from the drop down. After this, select the customer you wish to mark as active/inactive. Click the edit button, then check “Customer is inactive” box if you wish to mark them as inactive, and uncheck it if you wish to make them active.
After doing either of the above methods, save the customer record and repeat steps for as many desired customers as required. Once finished, run a sync between Acctivate and QuickBooks so that the changes in one are carried over to the other.