This article explains how to create a custom database view in SQL Server Management Studio.
When you install SQL Server Management Studio, it comes with a lot of very helpful database tools. The Query Designer is a way to build Select statements that can then be placed into custom views in your database. These views can be used to pull reports using Crystal Reports or Microsoft Excel Query.
To Access SSMS Query Designer:
- Open SQL Server Management Studio; login with the ‘sa’ user or windows credentials (if set up).
- Expand the database you are wanting to create the view on. In our case, we are using the ‘ACCTivate$Demo’ database that comes with the Acctivate installation.
- Right click on the Views folder and Select to create a New View.
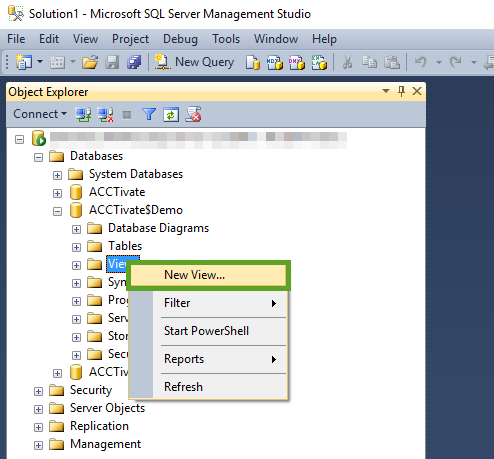
4. You will then see a new tab appear with a temporary view name.
To Create the Query:
- Select the Views tab to show all available Database Views to pull from. We suggest using Database Views instead of Tables for Data Security and Integrity reasons.
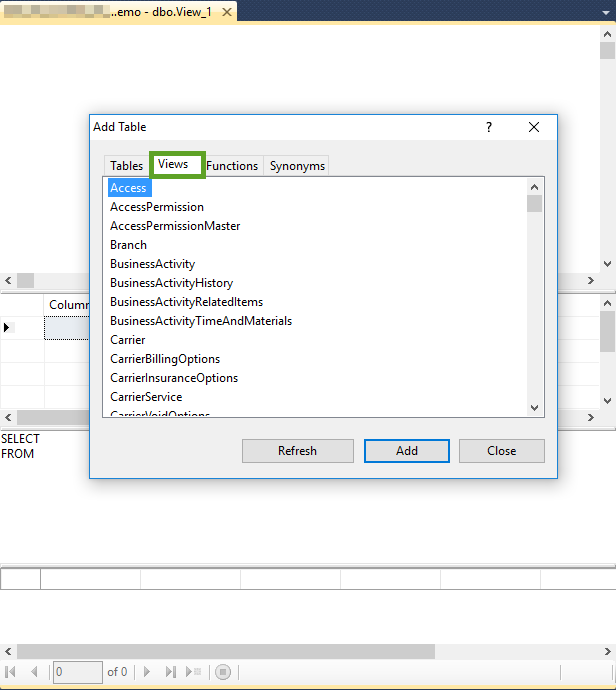
1. Select the Views you would like to pull into the Query Designer. You can select more than one by holding the CTRL key. For this example, I chose Product, ProductSupplier, and ProductWarehouseSummary.
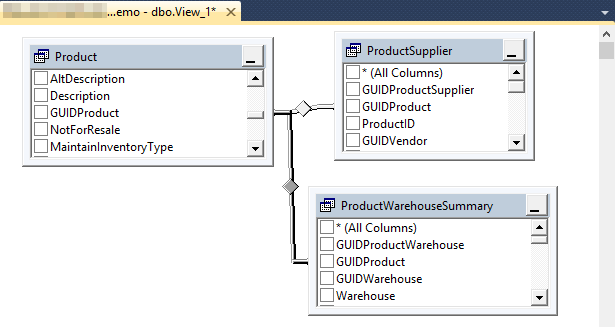
2. Now that you have the Views selected that you would like to pull fields from, you need to join the views together based on common fields. We suggest using GUID values to join the tables since those values are completely unique. In my example, I have joined ProductSupplier and ProductWarehouseSummary to Product through an INNER JOIN on GUIDProduct.
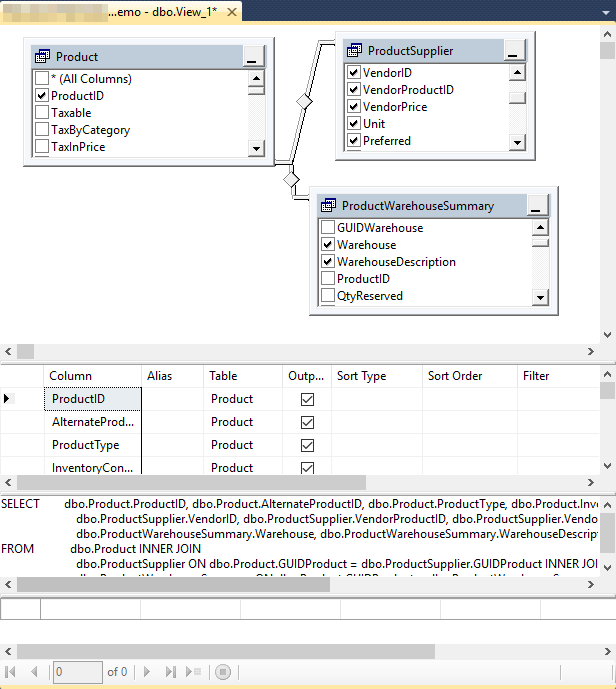
3. Next, Select the fields that you would like to show in your view. Notice how the SQL statement updates with your changes to the designer.
To Create the View:
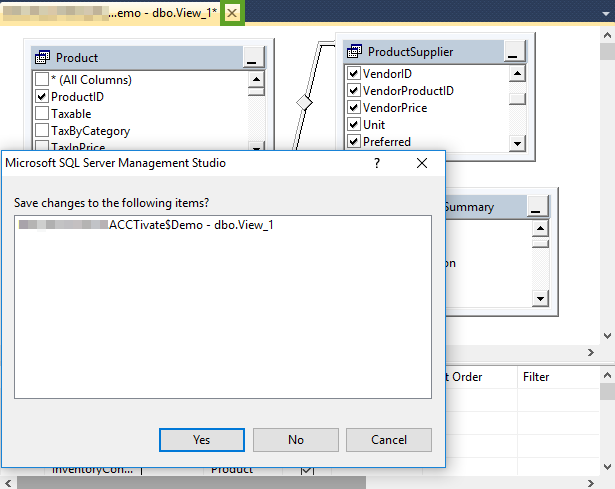
- Once you are done with selecting the Views and Fields you would like to see in your new View, close the window by clicking X.
- A dialog box will then appear asking you to save the view. Select YES.
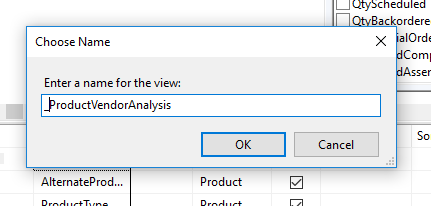
3. Then you will be asked to choose a name for your view. We suggest using an underscore at the beginning of the name to denote that this is a custom view created for this database.
4. The View will now be available to use for reports and other queries in the database.