This article guides you how to import an XML while using a webstore template.
Along with standard webstores, users have the ability to import in orders defined within a given xml file. To do this, go to Web stores > Web Store Sync > click Configure > Highlight the template you want > Then click EDIT. Click next until you see SOURCE. From the Source window, Ensure the Template next to "Type" is set to "Xml File".
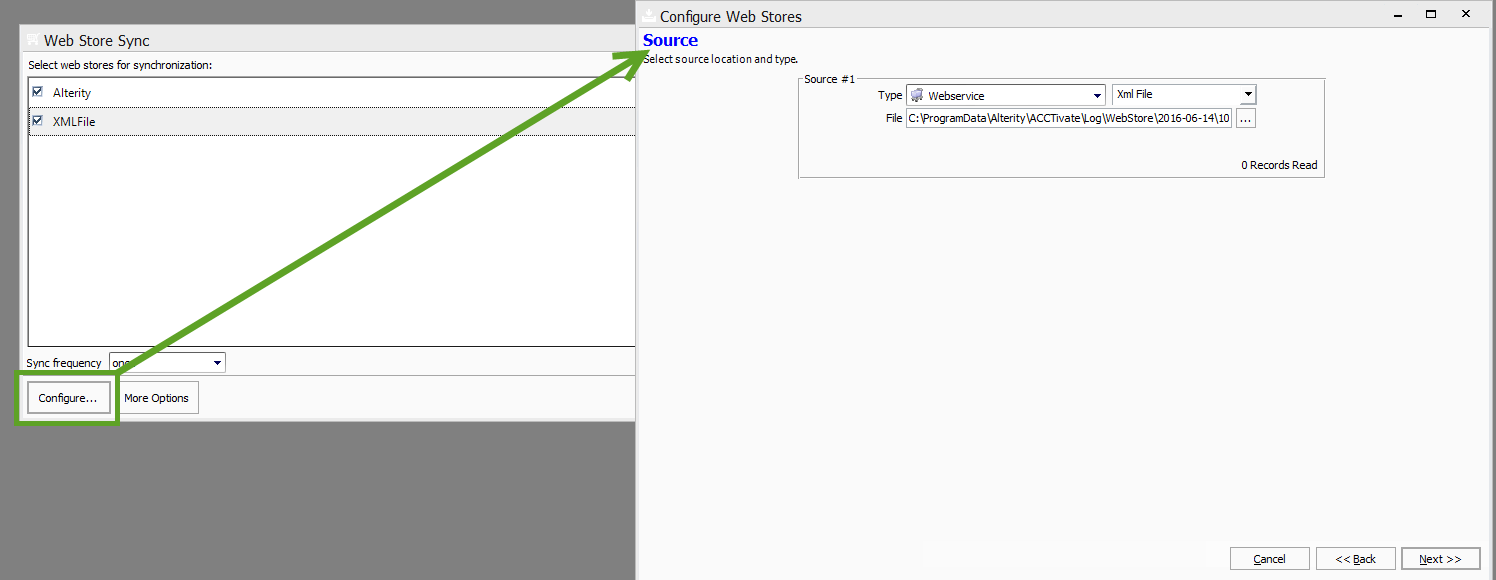
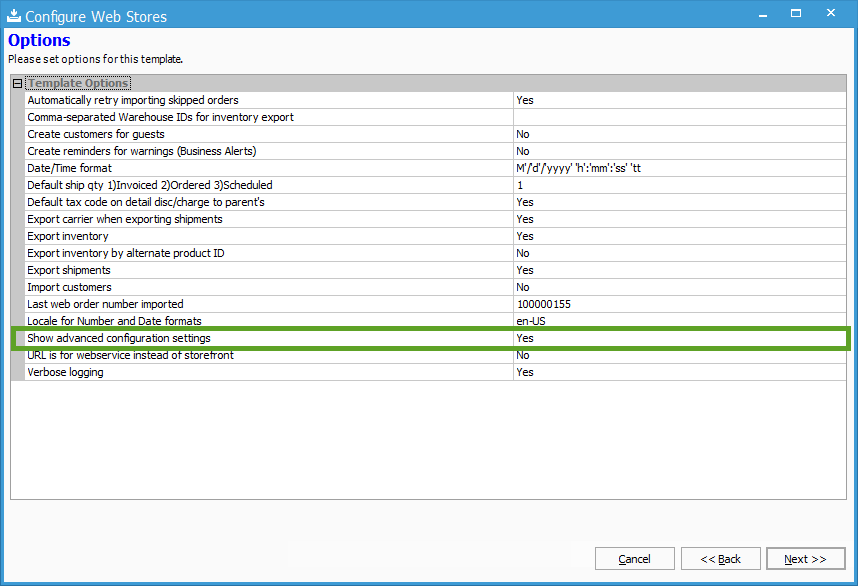
From the Source window, Ensure the Template next to "Type" is set to "Xml File". Then click the "..." to browse to a xml file and click NEXT. This should bring you to the OPTION window. Here the you can define certain settings (creating new customers, create business alerts, etc.) upon importing the file. Ensure Advanced Configuration settings is set to YES.
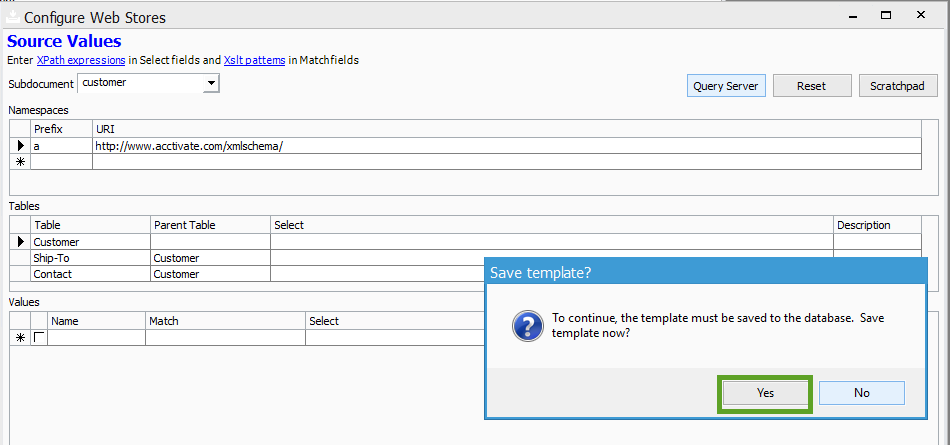
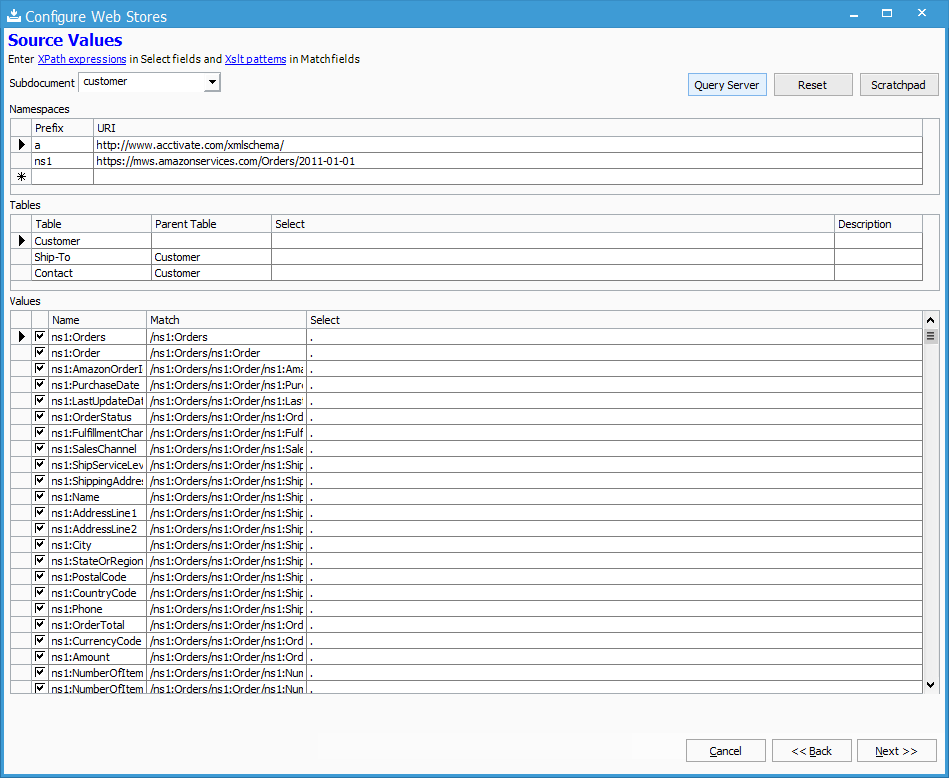
On the Source values window, notice the namespaces, tables, and values are blank. To fill this in, click the "Query Server". Then click YES to save template.
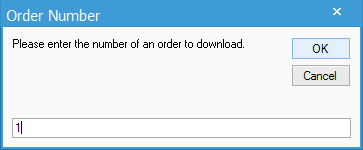
When prompted to enter an order number, it can be an arbitrary value. Usually "1" can be used here.
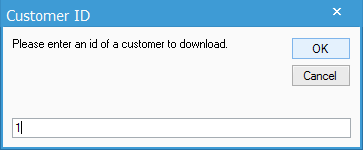
When prompted to enter a "customer id", enter an arbitrary value. In this example, "1" can be used as well.
After the information above is entered, Acctivate will auto fill the namespace, and values for customer and order.
The table section (which correlates to the Customer window and sales order window) is still not specified after using "Query Server". The xml file doesn't have too much customer nodes so we will map the Order information. In this case, the parent should be where all the order nodes start (order header information) and the Order Detail lines should be under the order nodes. Example below.
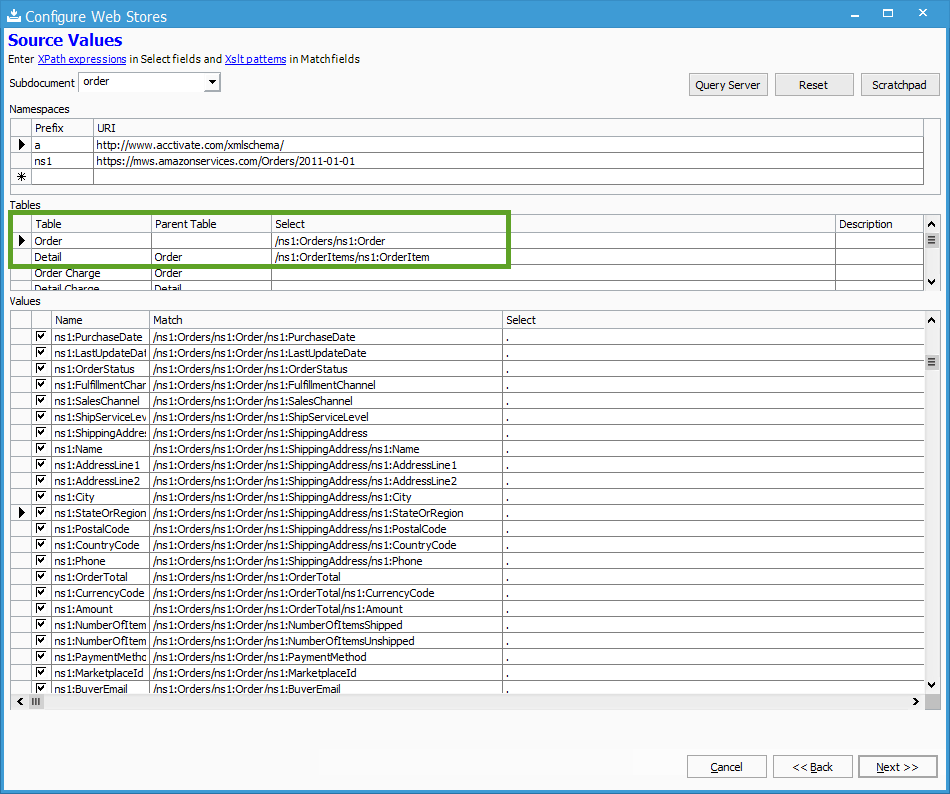
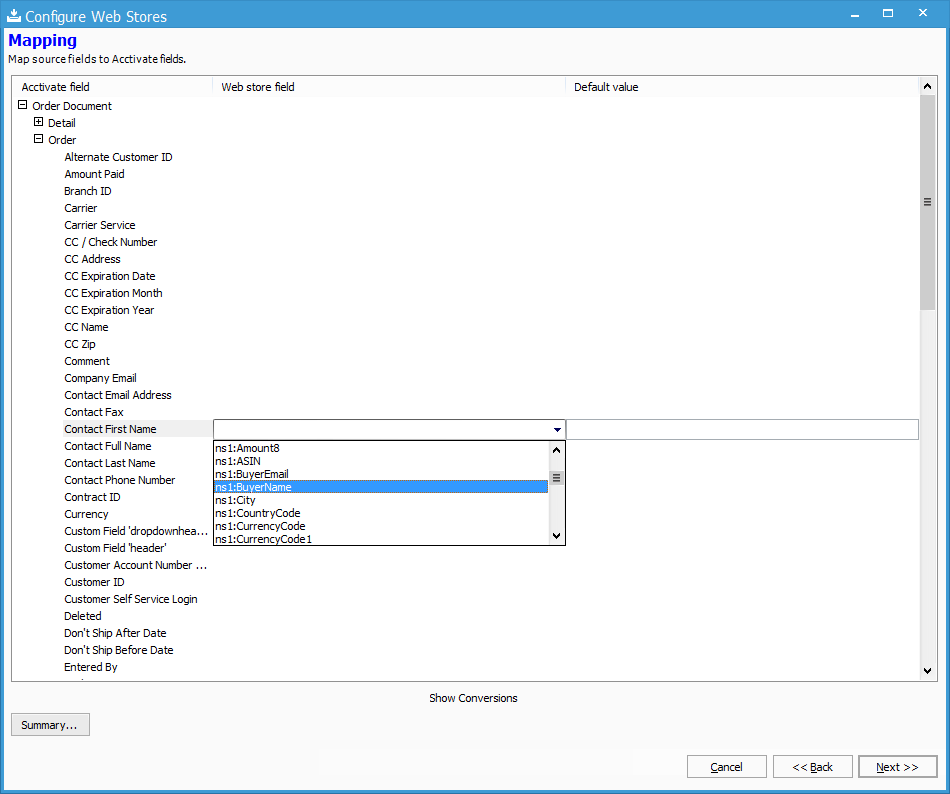
After those have been placed, Click NEXT. On the MAPPING window, you can map the source values defined on the previous window to the Order Document (Only Order Document appears in this example. If customer information should be mapped then hit BACK and enter a xpath to the Customer Ship To under Table section similar to the Order Table on the previous screenshot).
After everything is mapped, click NEXT and click Validate Orders. This will import the information in given the above specifications. If you need to change any configuration or would like to know more, see the links below.
Webstore Configuration - Adding Xpaths
Source Values window - Understanding Namespaces, Tables and Values
Source Values window - Xpath operators and functions
How to use Xpath ScratchPad with a Webstore template