Using Packaging Manager, group content of Sales Orders into physical cartons for shipment for an EDI 856 (Advanced Shipment Notice). Do this by putting shipments in the Shipment Preparation window and then into cartons in Shipment Packaging window.
*This article details the use of the Packaging Manager.
The Packaging Manager add-on module allows you take one or more sales orders and group their contents into physical cartons for shipment, which will then generate the correct information for an EDI 856 (Advanced Shipment Notice).
First, sales orders are put into shipments in the Shipment Preparation window and then the individual products of a shipment are packed into cartons in the Shipment Packaging window.
Preparing orders for shipment :All or any specific scheduled sales orders can be prepared for shipment by arranging them into shipments in the Shipment Preparation wizard.The wizard will guide you through a series of windows, which will allow you to filter for specific orders, select the orders you want to prepare, arrange the selected orders into shipments and finally create the shipments.
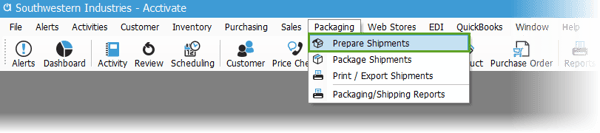
- Select Packaging > Prepare Shipments to open the Shipment Preparation wizard.
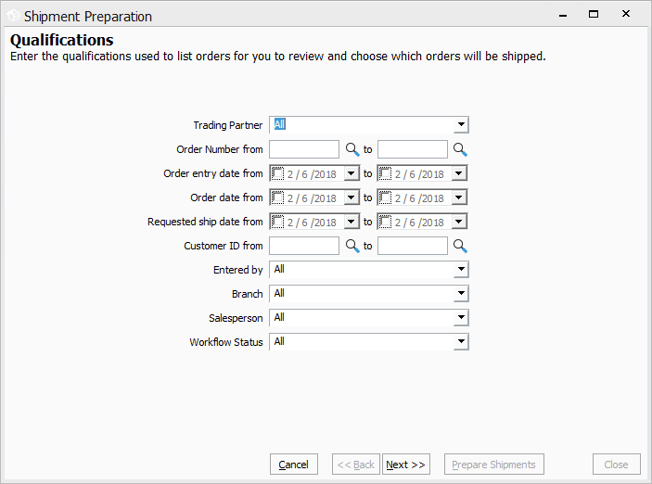
Entering qualifications for determining which orders will be arranged into shipments (first window - Qualifications):
- The Qualifications window will open. Use any of the provided fields to filter for specific orders, which will create a list of orders to choose from in the next screen (Select), that meet those qualifications.For example, if you only need to prepare orders that were entered for specific customers use the two Customer ID from fields to enter Customer IDs.
- Click the Next button, after selecting the desired qualifications.
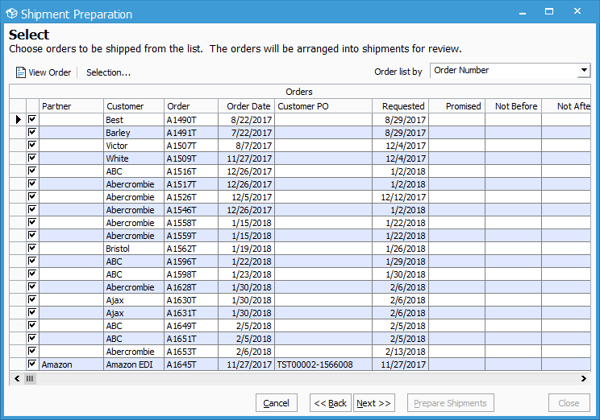
Selecting and/or deselecting orders from the results of the qualifications (second window - Select):
- The Select window will open.
Use this window to select and/or deselect orders that were selected based on the qualifications you entered in the previous window. - By default all of the listed orders in the Selected Orders data grid will already be selected. To deselect any of these so that they will not be prepared, click the checkbox (in the first column) of the specific orders.
You can also use the four buttons near the top to check and uncheck the checkboxes (Mark All, Unmark All, Mark Selected, and Unmark Selected).
To view the Sales Order window of the currently selected order (indicated by the arrowhead to the left of the data grid line) click the View button. - Click the Next button, when you have selected the orders that will be arranged into shipments (in the next window).
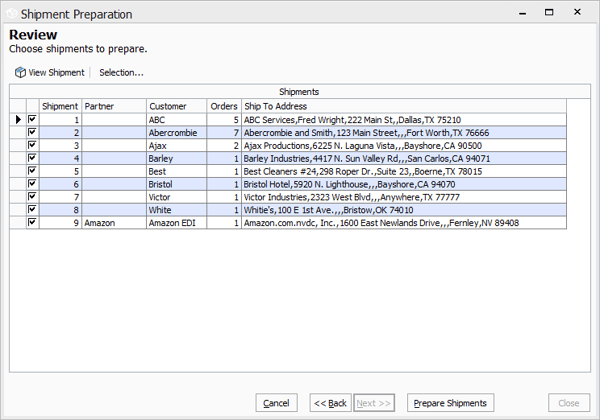
Reviewing the selected orders to arrange them into shipments (third window - Review):
- The Review window will open.
This window displays the orders (selected in the Select window) that have been arranged into shipments, so that you can review them and their contents before creating them into actual shipments
If there are multiple orders for the same ship-to location, all those orders will be contained in one shipment, which is indicated in the Orders column of the Shipments data grid. - By default all the shipments will be selected. To deselect any of these shipments, so the shipments will not be created, click the checkbox (in the first column) of the specific orders.
You can also use the four buttons near the top to check and uncheck the checkboxes (Mark All, Unmark All, Mark Selected, and Unmark Selected). - To view the Shipment window, which contains information about the currently selected (indicated by the arrowhead to the left of the data grid line) shipment (i.e. specific orders contained in the shipment) click the View button .
While in the Shipment window, you can view the sales order for any orders contained in the shipment by selecting an order in the Orders Contained in Shipment data grid and clicking the View Order button. - Click the Next button, when you have reviewed and selected the shipments to include in the shipment preparation process.
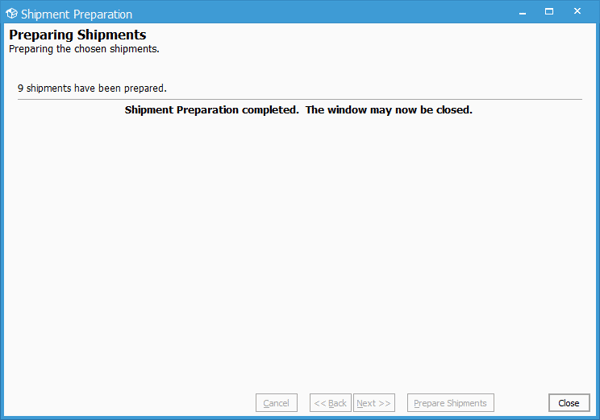
Preparing Shipments (last window):
- The Prepare Shipments window will open.
This window will allow you to complete the preparation process and prepare the previously selected shipments for packaging. - If you want to change information in any of the previous windows, click the Back button.
If you have no changes to make, click the Prepare Shipments button. - When the preparation process is complete, the progress bar will be full and a message will display how many shipments were successfully prepared.
- Click the Finished button.
Packaging shipments:
Shipments that have been created with the Shipment Preparation wizard can now be packaged in the Shipment Packaging window.
- Select Packaging > Package Shipments to open the Shipment Packaging window.
- Click the Lookup button next to the Shipment field.
- The Find Shipment Lookup window will open.
The shipments with a status code of C (created) are the shipments that have been created with the Shipment Preparation wizard and have not yet been packaged.
From the window, select a shipment to package. - Click the Edit button.
- If necessary, update the date shipped, time shipped and scheduled delivery date in the header section.
You can package the items and quantities on a per carton basis as desired, but if you would like the system to automatically package your shipment do the following:
- Click the Package Shipment button (near the top) to open the Select Packaging Option window and select a shipment packaging method.
- By Product Packaging Unit will package one product per carton, with a maximum of the product's packaging unit quantity per carton.
- By Store Location will package all products for each store in a single carton.
- One carton will package the entire shipment in a single carton.
After selecting an option, the status of the shipment will immediately change to Packaged.
Adding, editing and reviewing tab information:- In the Shipment tab you can edit the Ship To Address.
To view a sales order for any of the orders contained in the shipment, double-click the row of the order in the Orders Included in Shipment data grid. - Select the Carrier tab and enter all necessary information in the provided fields.
- Select the Carton tab.
- If you selected a shipment packaging method in step #5 above, in the Items Remaining to Pack display window, the orders in the shipment will be listed with their line items and each with quantities of zero. The quantities will be zero because once a method is selected, the system will automatically package the shipment into cartons based on the method.
- If you have multiple cartons you can use the toggle arrows to view the contents of each carton.
Enter all other necessary information into the provided fields for each carton (to the right above the data grid). - Click the Save button when you are done.
The packaged shipments are recorded in the Packages tab of the Sales Order window with each carton on its own data grid line.
*If you didn't select a shipment packaging method in step #5, follow the step-by-step instructions below to package the items and quantities on a per carton basis as desired.
- In the Items Remaining to Pack display window, the orders in the shipment will be listed with their line items and the quantities.
To add specific line items to the first carton and pack them, double-click each item's checkbox and click the Pack button near the bottom. The items you add will appear in the Contents of Carton data grid (near the bottom right).
You can also add items to a carton by clicking and dragging. Click the line item and drag (an icon of a hand holding a paper will appear) it to the carton (Contents of Carton section). When you drop it into the carton, an icon of a hand releasing the paper will appear.
To add the contents of an entire order to a carton, either click and drag the Order line (with the order number) in the Items Remaining to Pack display window to the carton; or click all the checkboxes in the Items Remaining to Pack display window and click Pack.
- To add additional cartons, click the Add button below the Contents of Carton data grid and then add the line items as described in step #1 above. Repeat this step to add more cartons.
- If you have multiple cartons you can use the toggle arrows to view the contents of each carton.
- To change the quantity of items in a carton click in the Qty field of the line item in the Contents of Carton data grid and modify it.
- To delete a carton, use the toggle arrows to display it in the data grid and click the Delete button.
- To remove items from a carton, use the toggle arrows to display it in the data grid. In the Contents of Carton data grid check the boxes of the items to remove and click the Unpack button.
- Enter all other necessary information into the provided fields of the Carton tab for each carton (to the right above the data grid).
- Update the status as appropriate in the Status field.
- Click the Save button when you are done entering all the necessary information into the fields of the tabs.
The packaged shipments are recorded in the Packages tab of the Sales Order window with each carton on its own data grid line.