The following setup procedure is for the integration between Stamps.com PC Software and Acctivate Inventory Management Software.
Before you begin you must Download and Install Stamps.com PC Software. If you have not purchased the Acctivate Shipping Workstation Integration please contact your sales person. The setup typically can be completed in less than one hour.
Configuring Stamps.com to Import data from Acctivate.
First, make certain that you have completed the ODBC setup (This must be completed before you begin the Stamps.com integration process.)
Next, you must be logged into your shipping workstation, launch the Stamps.com software.
Acctivate and Stamps.com software can be integrated for use with USPS (United States Postal Service). A Stamps.com customer account is required and the Stamps.com PC Software must be installed on the Shipping Workstation computer.
- Once you have a Stamps.com customer account you must also Download and Install Stamps.com PC Software.
- Next configure a 32bit ODBC connection. This connection will allow communication between Acctivate and your shipping software.
- If you Can’t Find Created ODBC Connection you may have created a 64bit connection instead of the required 32bit ODBC connection.
- Launch the Stamps.com PC Software:
- Select the Orders Tab.
- Click Manage Data Sources.
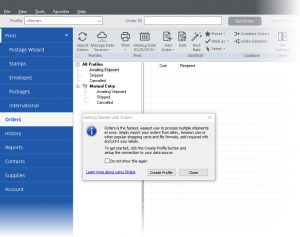
- Click Add Source.
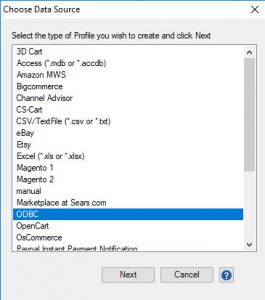
- Select ODBCand click Next.
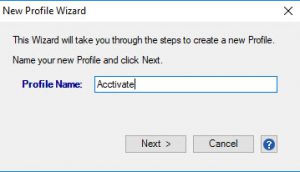
- In the New Profile Wizard window enter a Profile name and click Next.
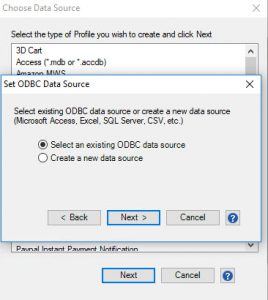
- Choose Select existing ODBC data source and click Next.
- Select the Acctivate ODBC connection in the drop down menu.
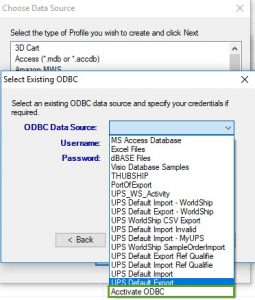
- Enter your Username and Password, then click Next.
- The default settings for SQL Server access are:
- Login ID: sa
- Password: Contact support if you need assistance with this
- The password may have been changed during the installation or configuration of SQL Server. If these settings do not work, please contact your database or network administrator to gain access to this database.
- Select OrdersAvailableToShip from the Data Source drop down menu.
- Map the OrderNumber field to the Order ID drop down menu.
-2.png?width=268&name=image%20(4)-2.png)
- Map any additional fields you wish to add and hit Next.
- Click Test Connection to ensure that the ODBC connection is set up correctly. When you have a successful test, click Next.
- Save the new Acctivate Profile.
- Edit the profile and check the box to use Custom Queries
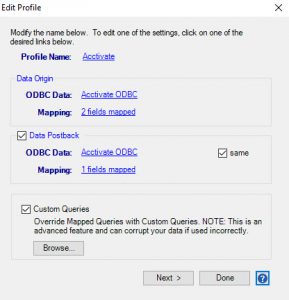
- Click the Browse button and unzip the the following files into the Stamps.com folder.