Use the Snipping Tool or Steps Recorder to help us understand your issue. Ensure that everything is visible, don't crop the image too much, don't combine multiple screenshots in a single image.

A picture is worth a thousand words, right? Attaching a screen capture to your support request will help us quickly understand and ultimately resolve your issue.
There are many different ways to capture a screen shot, but Windows has all of the necessary tools to get the job done. Here are the instructions to take a full screen capture in Windows and attach it to a new support request.
General Guidelines
- Ensure that everything is visible on your Windows desktop that you want to show, not hidden behind other windows.
- Save the image in the PNG format, which is compressed, yet doesn't lose any quality.
- Do not crop the image too much. It's useful to see more of your screen, including the Windows task bar including the date/time, other programs running, etc.
- Do not combine multiple screens into a single image. Instead, combine multiple screen captures in a ZIP file.
Screen Capture Utilities
- Snipping Tool is a great utility, built-in to Windows. Check out these instructions to capture screenshots with the Snipping Tool.
- SnagIt (from TechSmith) is one our favorites. SnagIt lets you quickly take a screen image or video. Videos can be uploaded and shared via their Screencast.com service
Attach to a Support Ticket
- Click here to open the Support Form
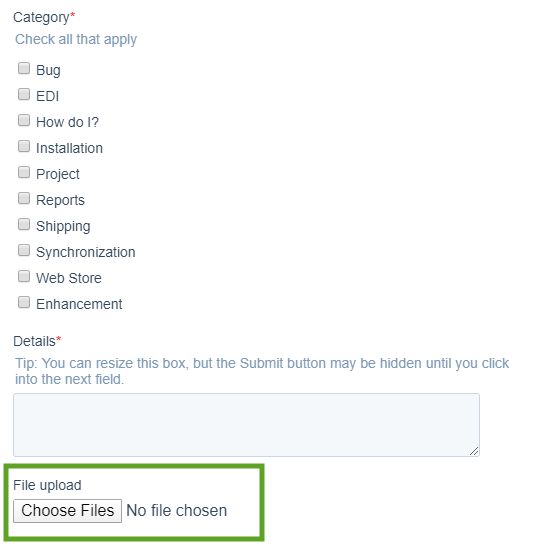
- Fill in the required fields on the form
- Click the Choose File button to select the saved screen capture file.
Bonus: Problem Steps Recorder
Microsoft quietly bundled a fantastic utility in Windows. The Problem Steps Recorder can capture multiple screen shots along with more notes and details about what you were doing. You can attach the file created by the utility to a support request.